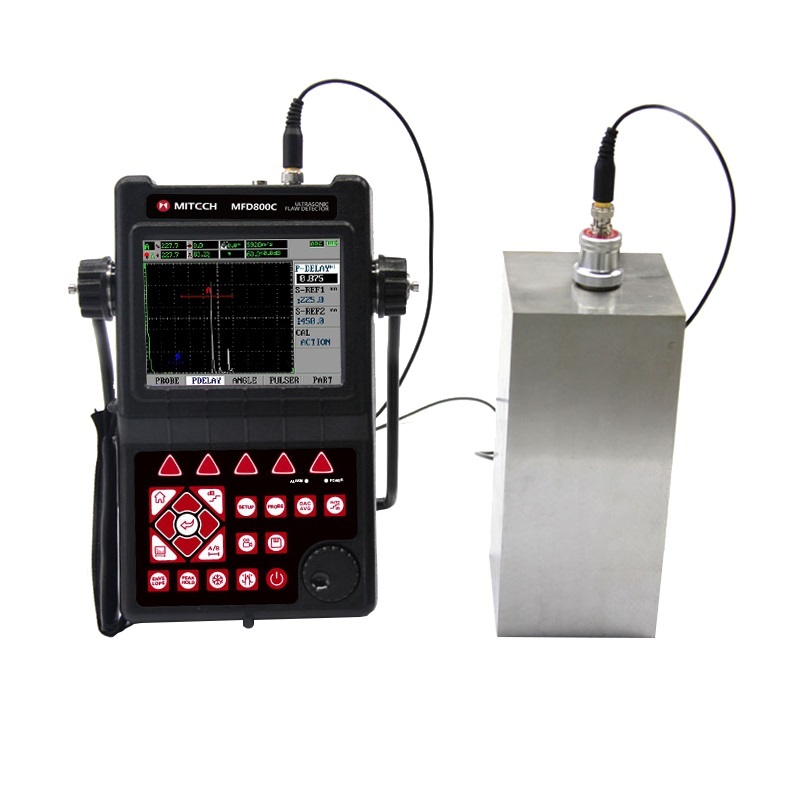
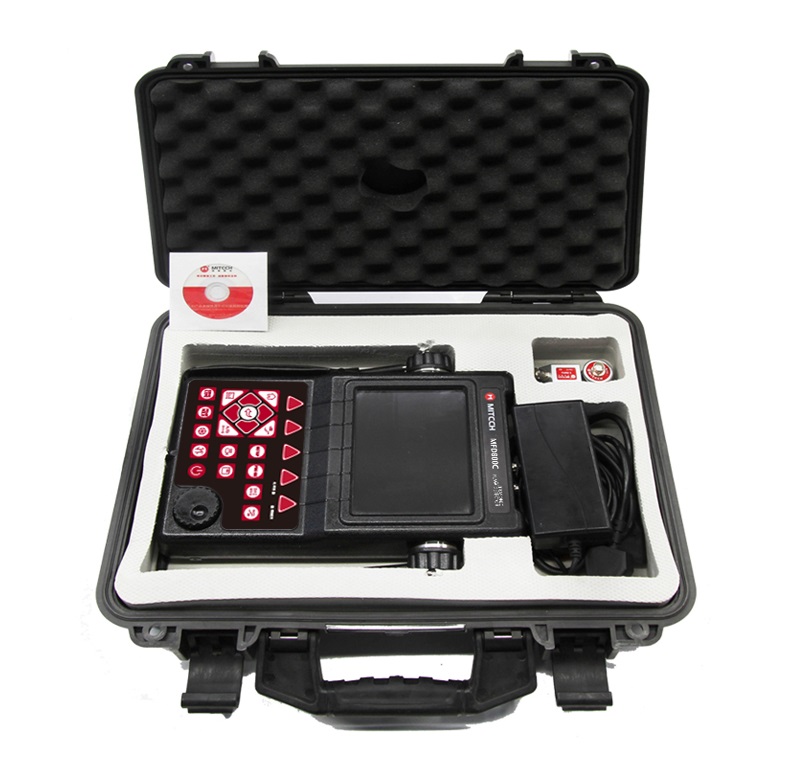
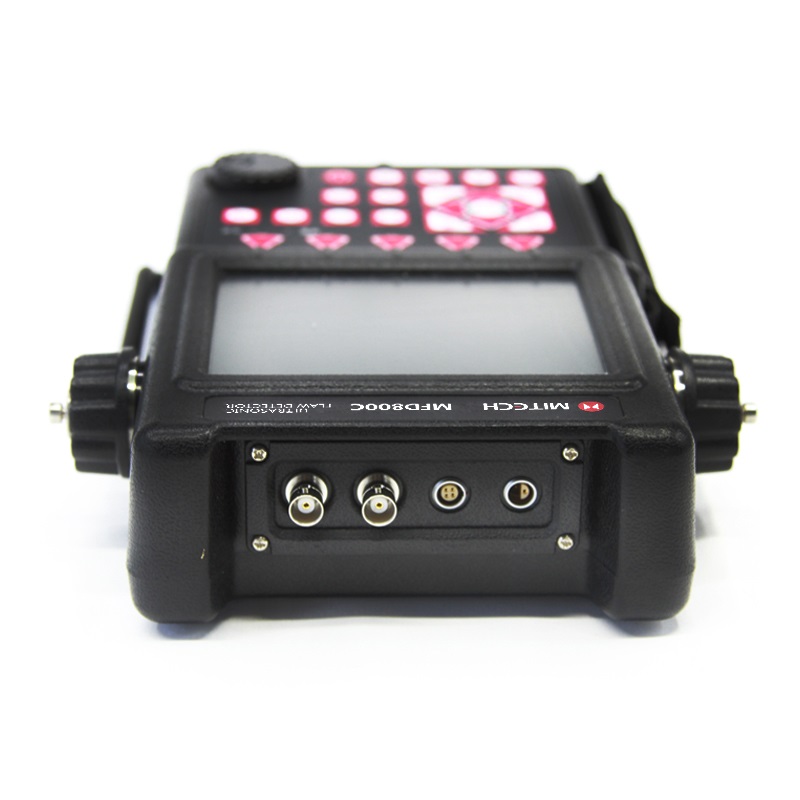
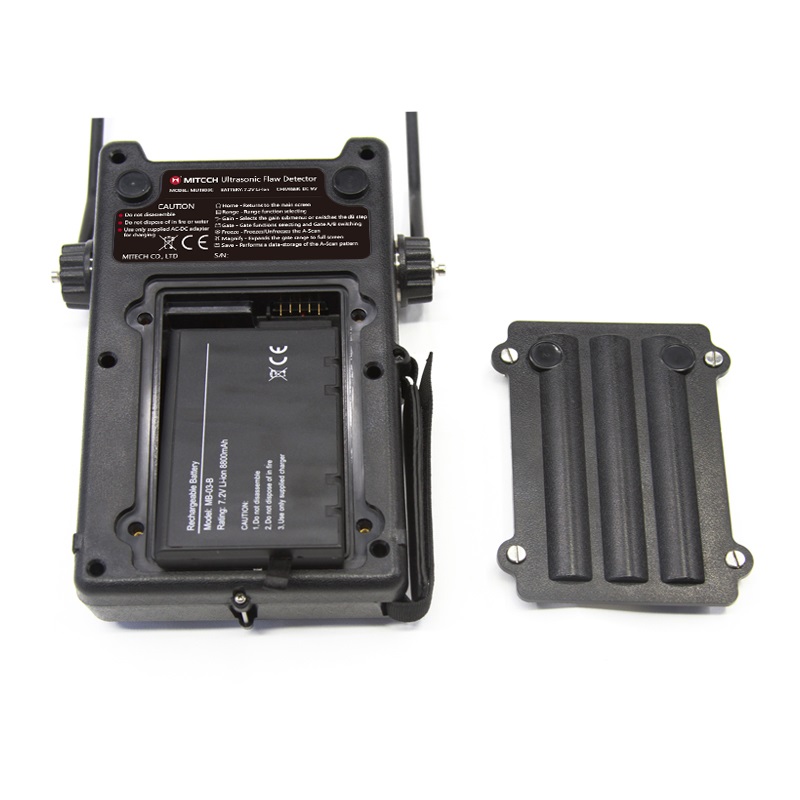
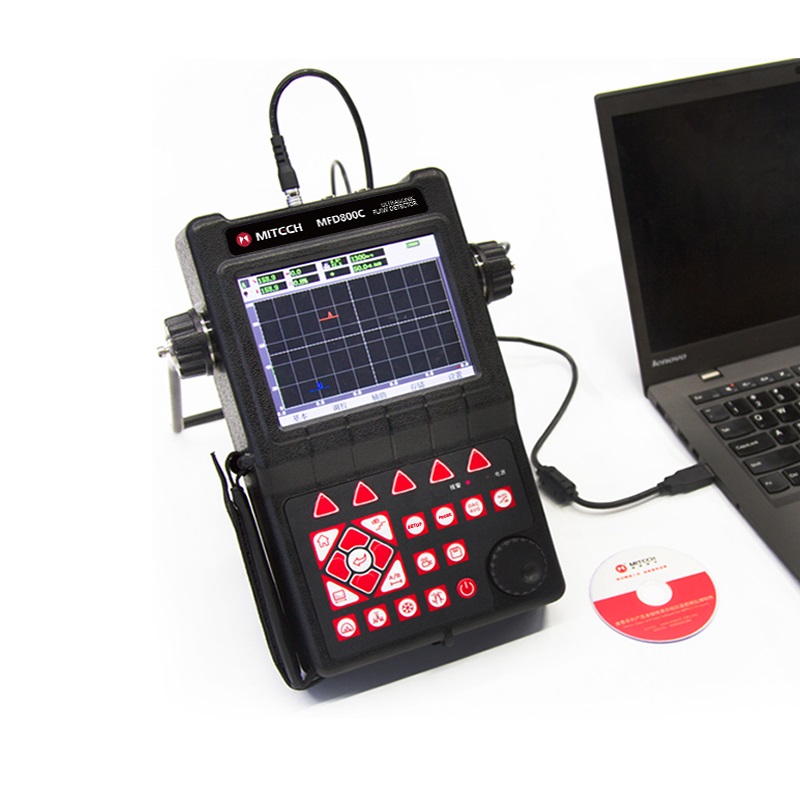


MFD800C Ultrasonic Flaw Detector
Key Features:
-
- Advanced Imaging Modes: A-scan, B-scan, and TOFD for complete flaw detection.
- High Sensitivity: Accurately detects flaws in metals, ceramics, and composites.
- Data Logging and Analysis: Stores and organises inspection data for review.
- Portable and Durable: Suitable for field applications in industrial settings.
Applications:
-
- Quality control in manufacturing and aerospace
- Non-destructive testing in automotive, energy, and construction sectors
- Detailed flaw detection in metals, ceramics, and composite materials
| Display Resolution | 640×480 pixels full digital true colour TFT LCD |
| Blind Area | 5mm |
| Flaw Sizing | Automatic flaw sizing using AVG/AVG or DAC, speeds reporting of defect acceptance or rejection |
| Weld Figure Feature | Weld Figure feature can be enabled when detecting the weld parts using angle transducer |
| Auto-Calibration | Automated calibration of transducer zero offset and/or material velocity |
| Memory | Able to store, recall the A-Scan patterns and instrument settings |
| Flaw Locating | Live display Sound-path, Projection (surface distance), Depth, Amplitude |
| Defect Quantification | Directly display the result with dB unit |
| Curved Surface Correction | Used to measure the surface distance and depth of defect on a curved surface |
| DAC/AVG | Yes |
| AWS D1.1 | AWS (American Welding Society) standard |
| Crack Height Measuring | Measure and display the height of a crack found inside the workpiece |
| Video Recording | More than 15 hours |
| B-Scan | Displays a graphical cross-section of the workpiece |
| Protection Level | IP65 |
| Communication Interface | High Speed USB2.0 port |
| DataPro Software | Yes |
| Working Language | Switch between Chinese and English |
| Total Weight | 6.0kg |
| Measuring Range | 0 - 9999 mm in steel |
| Bandwidth | 0.5 to 15MHz automatic matching according to the probe frequency |
| Dynamic Range | ≥ 36dB |
| Vertical Linear Deviation | ≤ 2.5% |
| Horizontal Linear Deviation | ≤ 0.1% |
| Resolution | > 40dB (5P14) |
| Sensitivity Leavings | > 62dB (flat-bottomed deep hole 200mmФ2) |
| Rejection | 0 to 80% Linear without affecting the linearity and gain |
| Noise Level | ≤ 8% |
| Probe Type | Straight beam, angle beam, dual element and through-transmit |
| Gates | Wave-getting Gate, Wave-losing Gate, Single Gate Reading, Dual Gate Reading |
| Power Supply | DC 9V |
| Working Time | >8 hours |
| Overall Dimensions | 280 × 220 × 70 mm |
| Operating Temperature | -10 to 50℃ |
| Relative Humidity | 20 - 95% |
| Pulse Energy | 200V, 300V, 400V, 500V, 600V selectable, suitable for various probe |
| Pulse Width | 0.1 - 0.512µs range with continuous adjustment to match the different frequency probes |
| Probe Damping | 100Ω, 200Ω, 400Ω selectable to meet different requirements for resolution and sensitivity |
| Sampling | 10 digits AD Converter at the sampling speed of 160MHz, waveform of highly fidelity |
| Rectification | Positive half wave, negative half wave, full wave, RF |
| Gate Reading | Optional for single gate and double gate reading mode, both peak and edge can trigger it |
| Gain | 0 dB to 110 dB adjustable in selectable steps 0.1 dB, 1 dB, 2dB and 6dB |
| Transducer Connections | BNC or LEMO |
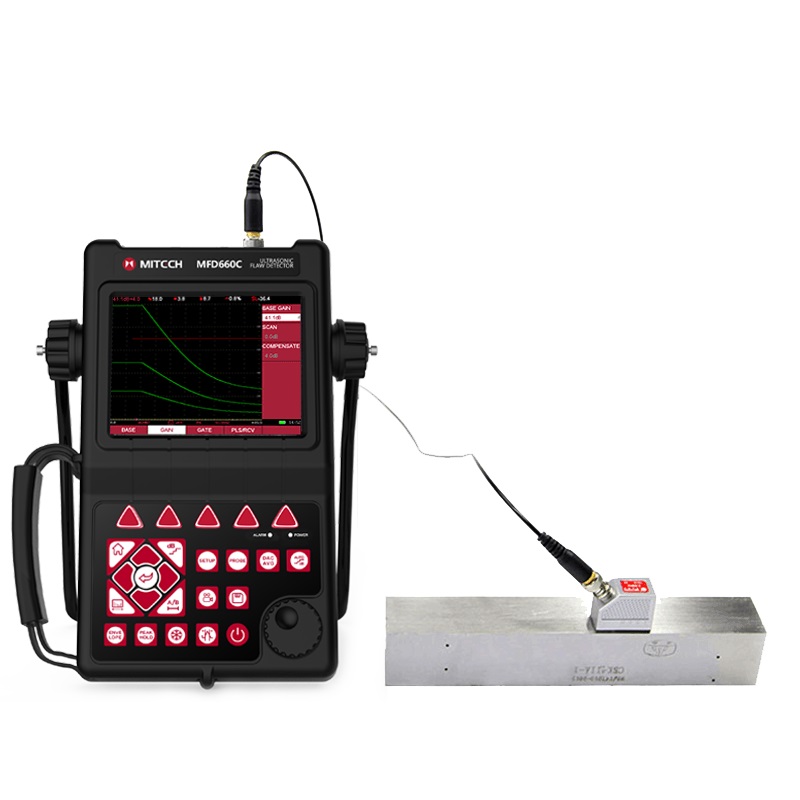
MFD660C Ultrasonic Flaw Detector
Distributed by Sonemat for MITECH Co. Ltd., the MFD660C Ultrasonic Flaw Detector offers advanced flaw detection with multi-mode imaging, including A-scan, B-scan, and TOFD modes. This high-sensitivity device is ideal for thorough inspections of metals, ceramics, and composites in industrial applications. Contact us for a formal quotation and further details.
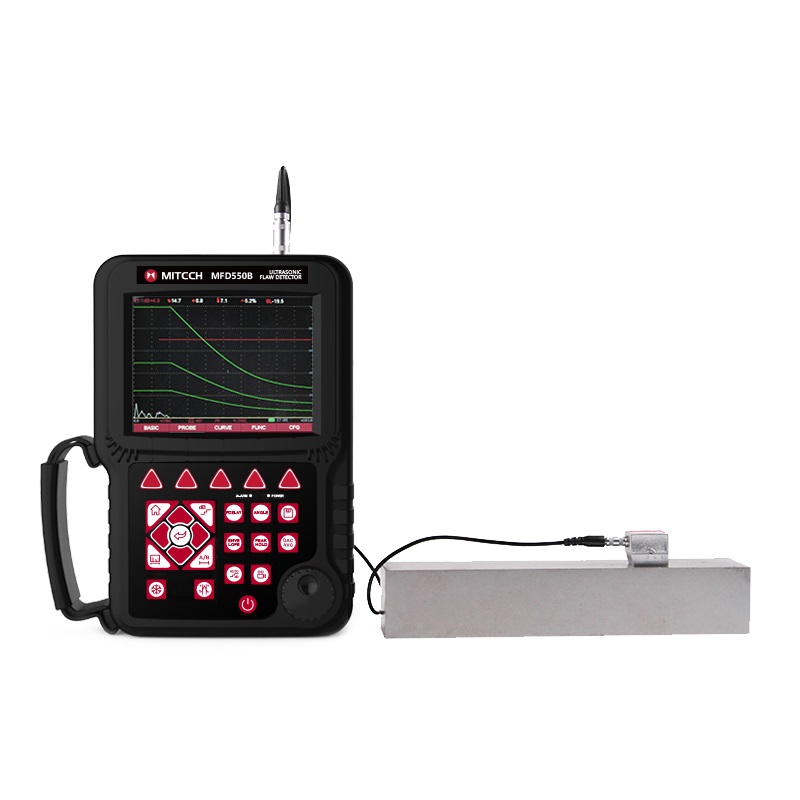
MFD550B Ultrasonic Flaw Detector
Distributed by Sonemat for MITECH Co. Ltd., the MFD550B Ultrasonic Flaw Detector offers high-precision flaw detection with advanced data logging, multiple scanning modes, and A-scan/B-scan displays. Ideal for detecting inclusions, cracks, and other material inconsistencies, the MFD550B supports rigorous quality control and industrial inspections. Contact us for a formal quotation and more product details.
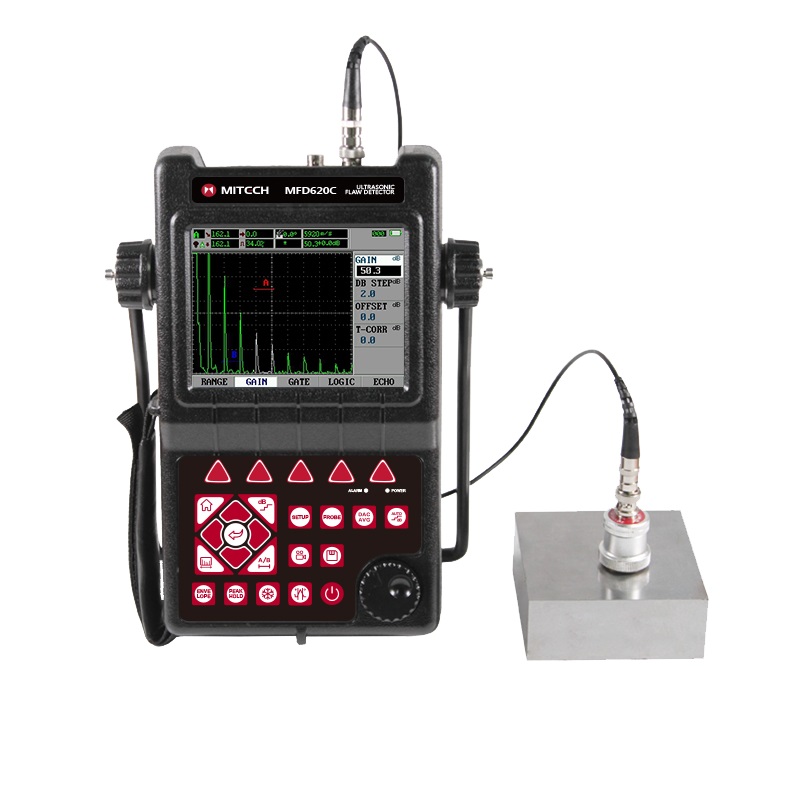
MFD620C Ultrasonic Flaw Detector
Distributed by Sonemat for MITECH Co. Ltd., the MFD620C Ultrasonic Flaw Detector is designed for high-resolution flaw detection with advanced imaging, multi-mode scanning, and data logging. Ideal for precise material evaluations, it ensures reliable results in industrial quality control and maintenance inspections. Contact us for a formal quotation and further details.
Standard delivery via DHL courier. Custom delivery options available upon request.
